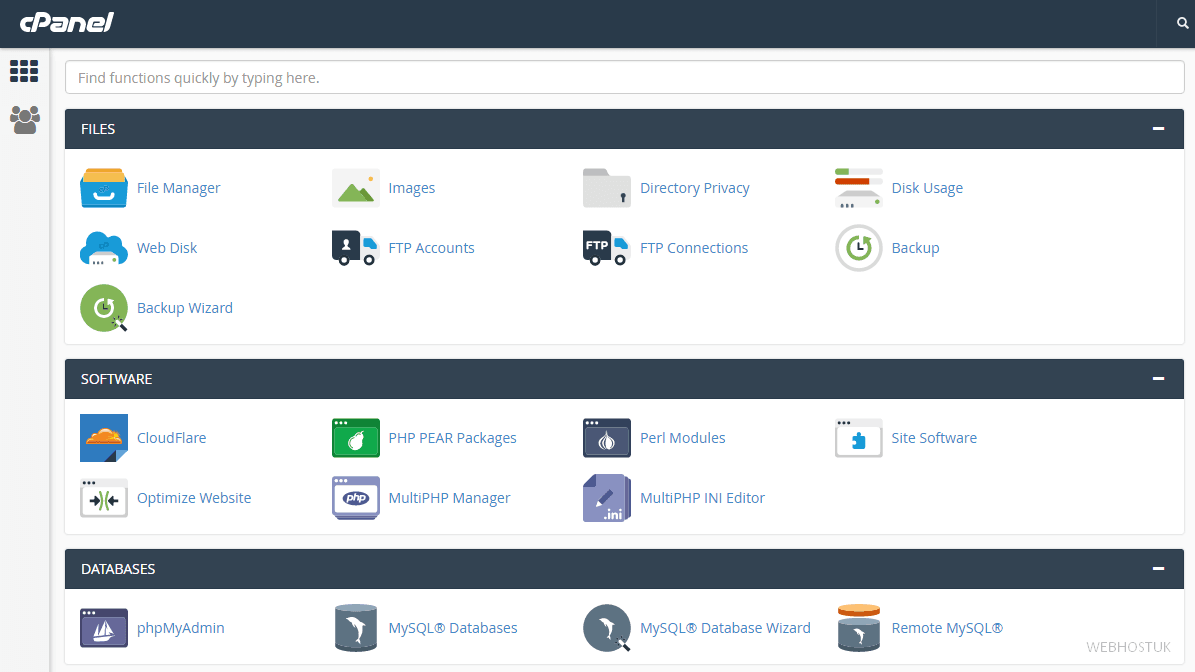
Step 1 – Find CloudFlare in the Control Panel
After the CloudFlare plugin is installed, you will see a CloudFlare icon in cPanel.
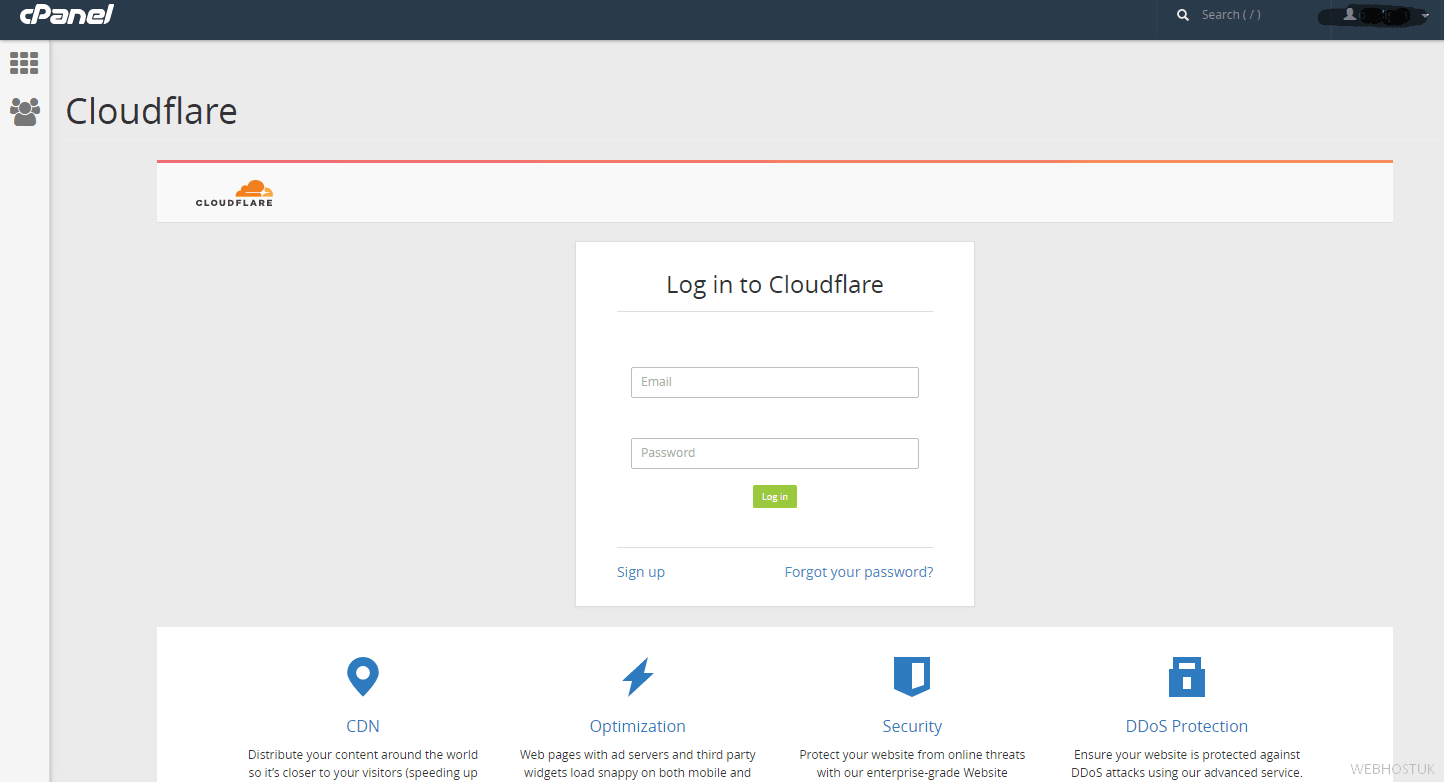
Step 2 – Activation
If they already have a CloudFlare direct account, sign-in. If not, click on Sign up.
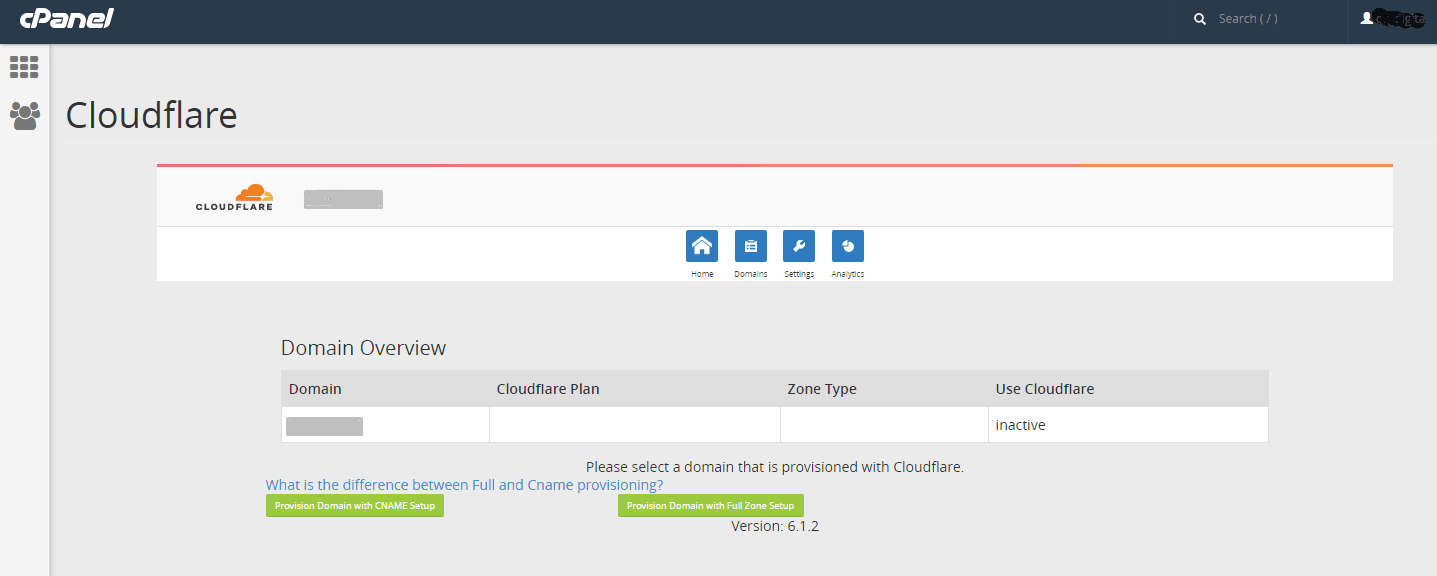
Step 3 – CNAME or Full DNS setup
CNAME setup : By default, CloudFlare is set up for your customers using CNAME. To enable CloudFlare on CNAME, please click
Provision Domain with CNAME Setup green button.
Full DNS option
Once you enable the Full DNS option in the config.js file, your customers can select and use either CNAME or Full DNS setup. Customers will need to refresh the page after the hosting provider updates their name servers
to CloudFlare’s name servers.
Step 4 – Enable CloudFlare for subdomains
For subdomains, click the grey cloud icon and toggle to orange. This means traffic will flow through CloudFlare for these subdomains.

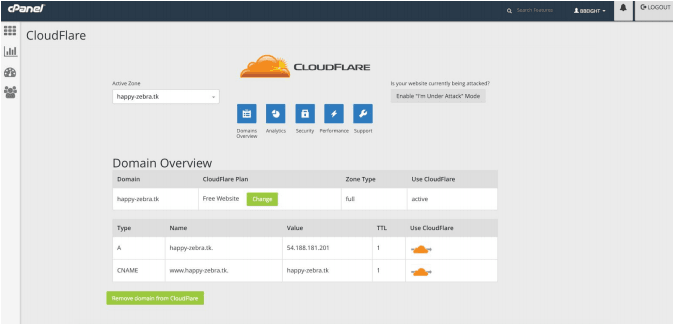
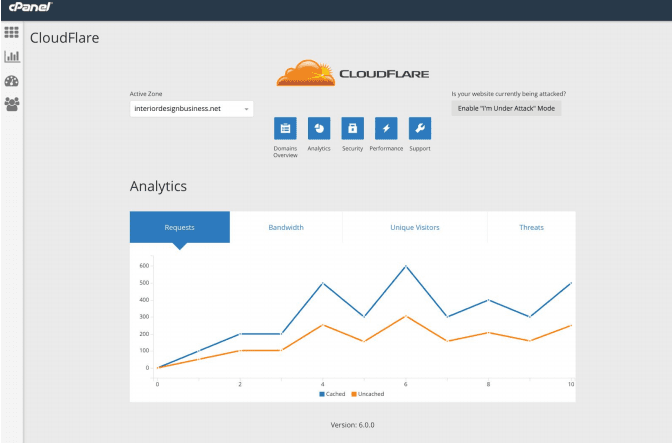
Step 5 — Analytics
Your can see CloudFlare analytics for each site by clicking the “Analytics” icon
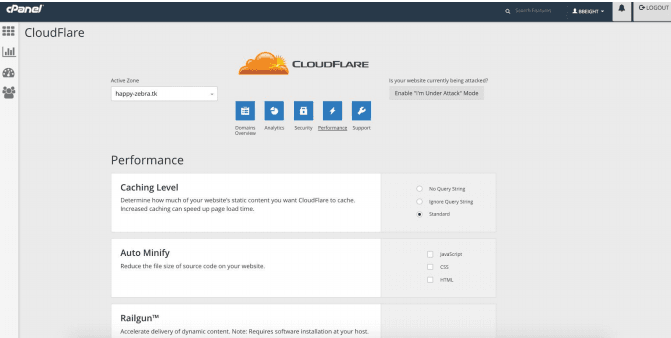
Step 5 — Additional settings and upgrades
Users can now control more CloudFlare security settings right from cPanel.
In addition to selecting the basic security level of your site from Essentially Off, Low, Medium, or High, you can configure the Challenge Passage, which specifies how long a visitor is allowed access to your website after completing a challenge.
You can enable Browser Integrity Check which evaluates HTTP headers from your visitors browser for threats, if a threat is found a block page will be delivered. In addition, users can select ‘I’m under attack mode’ when experiencing a DDoS attack on Layer 7. To access additional settings and upgrade from “Free” to “Pro”, customers need to log in to their cloudflare.com account.