This tutorial takes us to the basics of installing WordPress in a web host. There are literally 10+ methods by which you can install a deployable WordPress site. Factors such as your operating system, intended usage (local or live) and hosting environment lead to several ways of installing WordPress.
Softaculous is an application installer that automates setting up various management systems.
In this case, it will install WordPress and its database after just a few pieces of information from yourself.
It’s a quick and easy way to set up a website without having to learn a single line of code.
1. Login to cPanel.
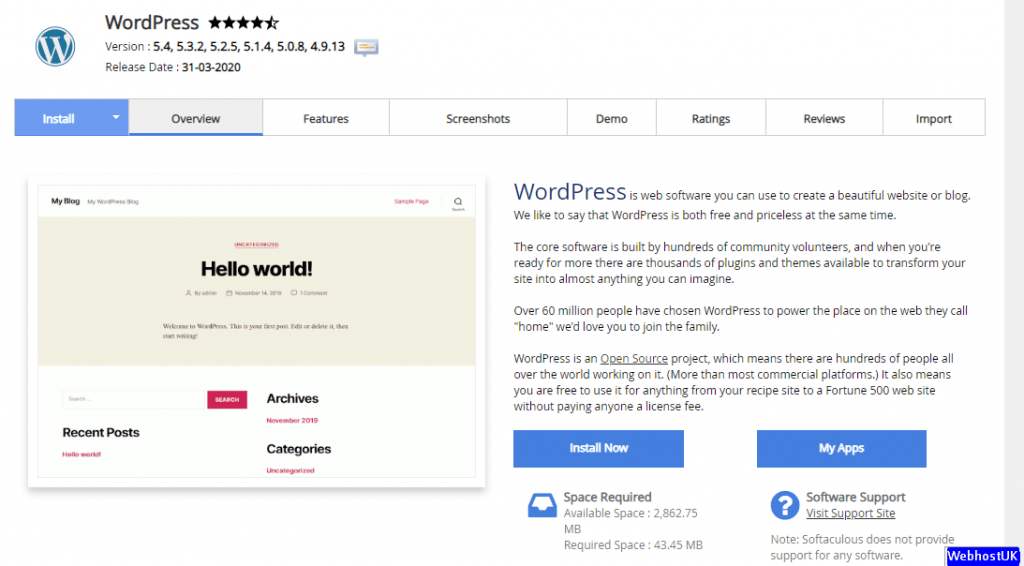
2. From cPanel, scroll to the Softaculous Apps Installer and click WordPress.

3. Install WordPress, from the Softaculous script window, click the Install Now button in the description. The Softaculous software will usually have the most recent version of WordPress available.

In the next screen, you will need to input all of your website’s settings. Let me break them down a bit for you:
Software Setup
In this section, you’ll choose whether your site uses SSL protocols or not. This is done by selecting which “http:” version you want to use from the drop down options. You’ll also pick your domain. If you only have one domain name, it will be displayed automatically. Otherwise, you’ll have to select it from the list.
Site Settings
This is the basic information of your website. You’ll put in your site’s name and a short description. This will be used by most themes as well as the WordPress system for identification purposes. It will also play a part in search engine optimization, so make sure the information is something you want seen in sites like Google.
Admin Account
Input the admin username and password you want to use to log into WordPress. I suggest never using the name “admin” as the administrator username. It’s the first thing bots and hackers will try when attempting to access your website. Make it something completely unique to you.
Admin Email Address
This address is only used by WordPress itself and is not available publicly. Plugins you install may also use this address to send you messages or updates. It can also be used for password recovery should you forget or lose your login credentials.
Choose Language
This is set as English by default. However, you have the option of using many different language types for WordPress. Choose one that is ideal for you and your website.
Select Plugins
Softaculous often comes with a couple of Plugins readily available should you choose. GreenGeeks displays “Loginizer” and “WPForms Lite.” These two plugins are very helpful for those who want to protect the login screen and create forms such as what you would use for contact information. Click the check boxes to activate or deactivate these optional plugins.
Advanced Options
Advanced options are for those who have a firm grasp of databases, upgrades and backup control. You can customize these elements if you wish, but I would suggest new users to leave these settings.
Select Theme
WordPress comes with a few themes readily available. These files dictate how your website appears. In Softaculous, you can choose from a wide variety of layouts. Simply click the one you want to install with WordPress and Softaculous will do the rest. Please note that you can change themes at any time and as often as you like.
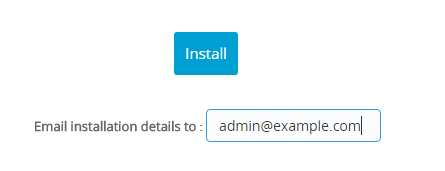
Under the install button, you can enter your email address. You will get an email when the install is complete.

Softaculous will then analyze your information and settings while installing the WordPress.

And a few seconds later – bam! You have a fully functional WordPress installation.

Bookmark this URL so you can find it easier at a later date.