| In this guide we help you to set up your email account in Gmail with POP3. |
| Before you continue, we want to make you aware of few limitations Gmail will only allow you to set up your email with POP, which mean you can only download emails form your Inbox and not IMAP, it doesn’t get synced back to the server. Gmail only downloads emails from your Inbox and not from other folders, like Send and Drafts. By default, Gmail downloads the emails and then removes them from the server. We recommend that you check the option to leave a copy of the email on the server. That way you can still access your emails in Webmail. |
Log in to Gmail and go to Settings
- Log in to your Gmail account.
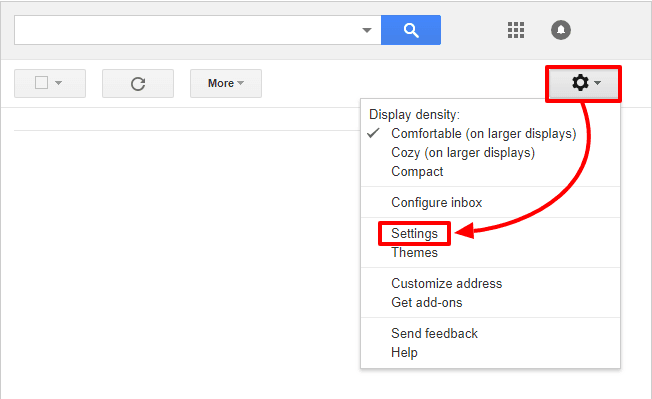
- Click the gear icon in the top right corner.
- Select Settings from the drop-down menu.
Add an email account
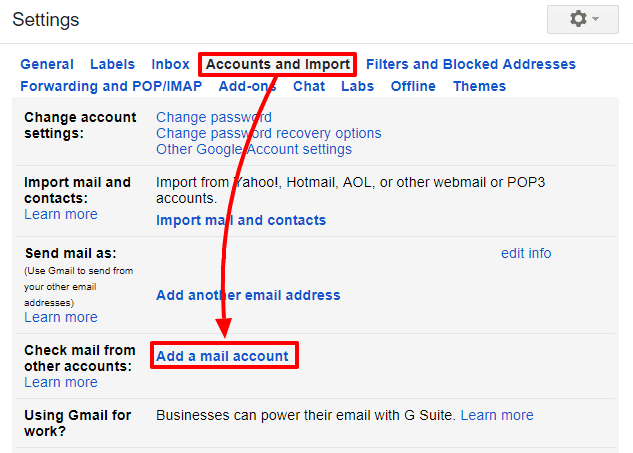
- Click Accounts and Import in the menu at the top.
- Click Add an email account.
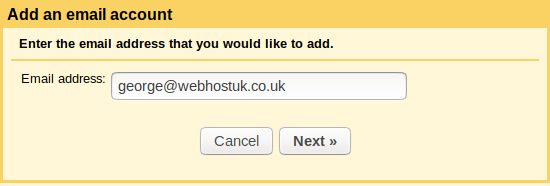
Enter your email address
- Type in the email address you want to set up in Gmail.
- Click Next.
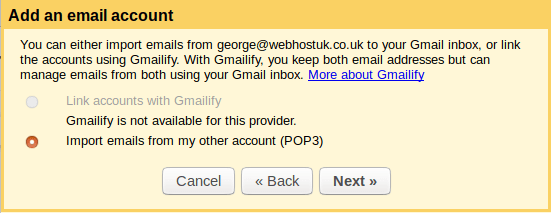
Confirm you want to import with POP
- Select “Import emails from my other…“.
- Click Next.
Enter the POP server settings
Please use the following settings for the incoming email:
- Username: your email address
- Password: the password you use to log in to Webmail
- POP server: Mail.YourDomainName.com
- Port: 995
- Check the option to leave a copy on the server (Recommended).
- Check the option the use SSL.
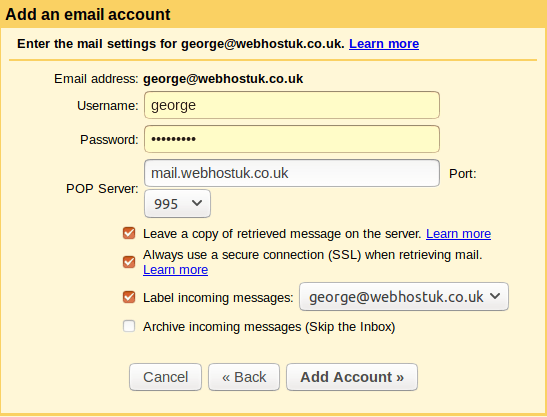
Click Add account to continue.
Tip: We recommend you to check the option to leave a copy of your emails on the server. That way you can still access your emails in Webmail.
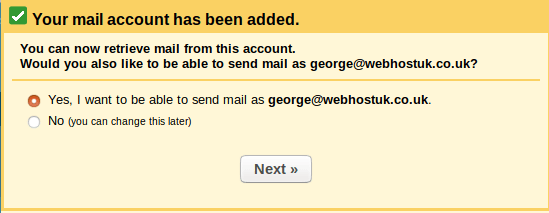
Confirm you want to send from Gmail
You can now receive emails from your email account in Gmail. The next step is to set up the outgoing settings, so that you can also send emails from your account.
- Select “Yes, I want to be able to send…“
- Click Next.
Enter the sender name
- Enter the sender name you want to be visible to your recipients.
- Click Next step.
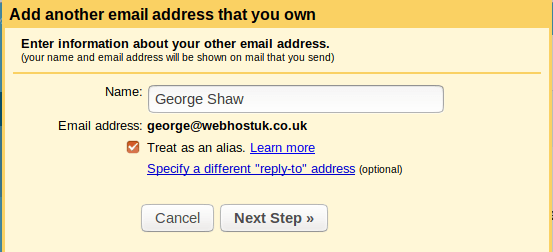
Tip: If your Gmail address is your primary address, and your other email address is only for recieving, you might want to check the box for “Treat as an alias”.
Enter the SMTP server settings
Please use the following settings for the outgoing email:
- SMTP server: Mail.YourDomainName.com
- Username: your email address
- Password: the password you use to log in to Webmail
- Port: 587
- Secured connection: TLS
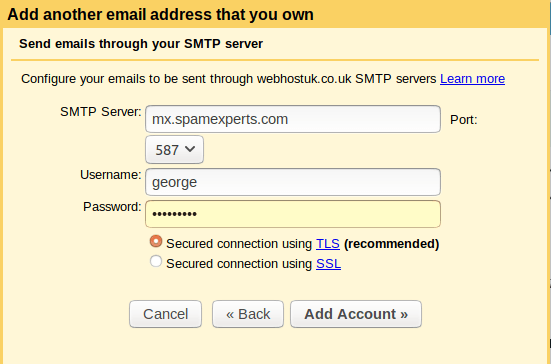
Click Add account to continue.
Open the Gmail Confirmation email
Gmail will now send you an email with a confirmation code.
- Log in to Webmail.
- Open the email “Gmail Confirmation – Send mail as…“
- Copy the confirmation code in the email.
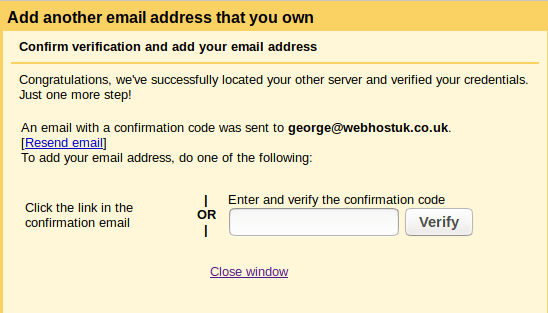
Enter the verification code
Paste the verification code in the field and click Verify.
Verify your settings
Your account is now set up. You can both send and receive email in Gmail. Check your settings to make sure it’s set up according to your preferences.