How to Install and setup the Wordfence Security plugin in WordPress.
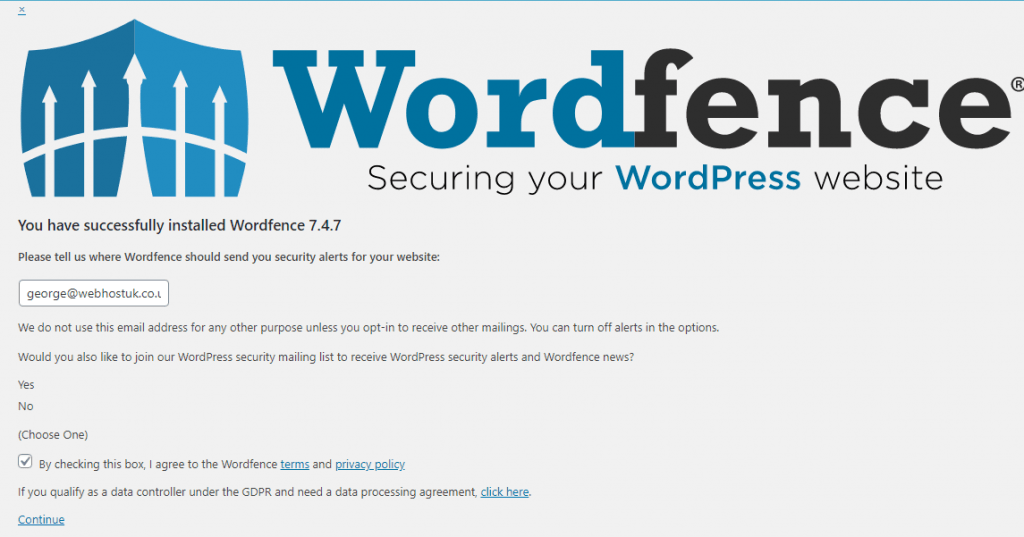
First thing you need to do is install and activate the Wordfence Security plugin. For more details, see our step by step guide on how to install a WordPress plugin.
Setting up the Wordfence Security plugin is very simple, but there are a few areas you really wanna make sure are running, like the Firewall.
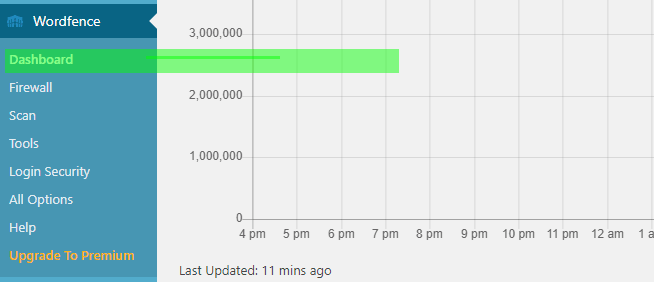
Click on Wordfence on the left-hand admin panel and select the Dashboard option. This will pull up the main settings page of the plugin. All of the information you need to see is on this page including the last scan, malware blocked, IP addresses blocked, etc.
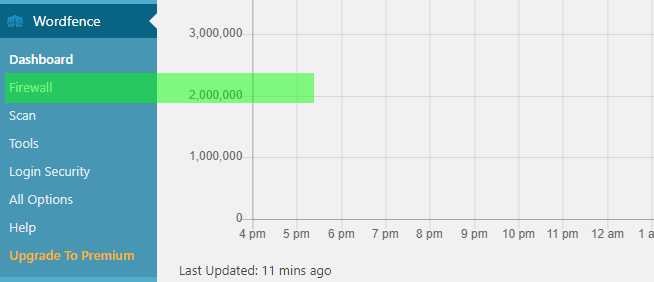
The most important part of this security plugin is the Firewall. It will prevent most malicious activity on your website. This is a PHP based application level firewall.
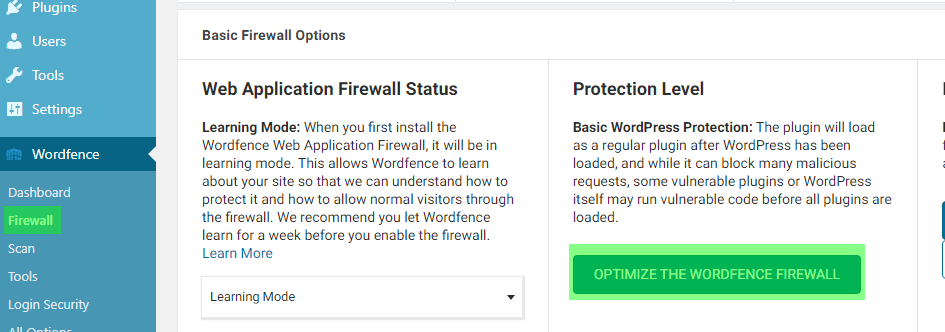
The Wordfence firewall offers two levels of protection. The basic level which is enabled by default allows the Wordfence firewall to run as a WordPress plugin.
This means, that the firewall will load with rest of your WordPress plugins. This can protect you from several threats, but it will miss out on threats that are designed to trigger before WordPress themes and plugins are loaded.
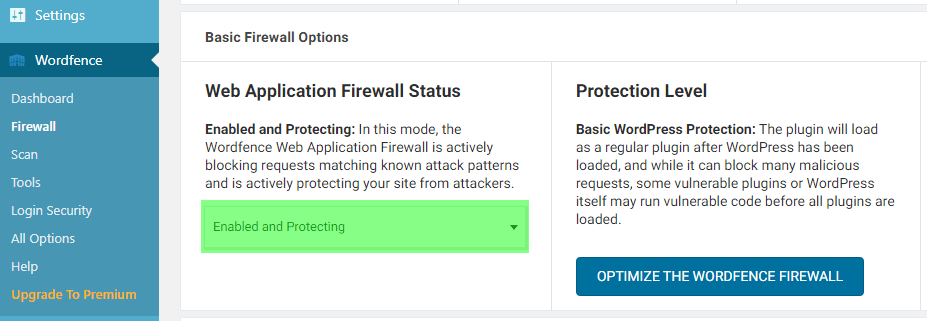
The second level of protection is called extended protection. It allows Wordfence to run before WordPress core, plugins, and themes. This offers a much better protection against more advanced security threats. Click on the Firewall option to access its settings page.
Click on the Optimize the Wordfence Firewall button. It will run a test to determine the best setting to use. You may pick your own setting, but I would recommend following Wordfence’s recommendation.
You may pick your own setting, but I would recommend following Wordfence’s recommendation. Click on the Continue button once you have made your selection.
Click on the Download .htaccess button. This will allow Wordfence to run before your core WordPress files. This adds an extra layer of protection because a firewall cannot protect these files making them vulnerable to hackers. Click on the Continue button once you have the file downloaded.

You will also notice a Learning Mode button. When you first install Wordfence, it attempts to learn how you and your users interact with the website to make sure that it doesn’t block legitimate visitors. After a week it will automatically switch to Enabled and Protecting mode.
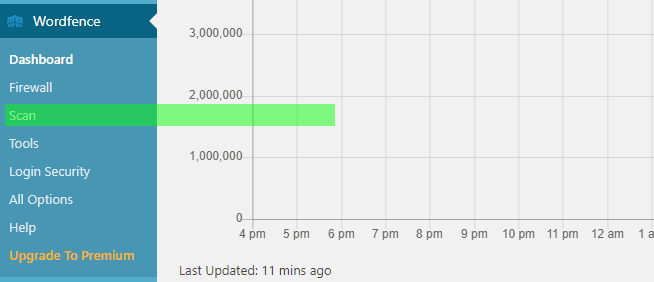
To scan your website at any time, click on the Scan option.
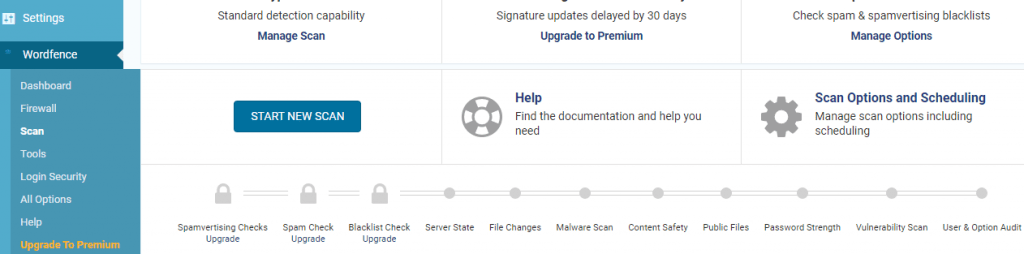
Click on the Start a Wordfence Scan button. The free version comes with a default automatic 24-hour scan. If you upgrade to the premium version you can set your own schedule and much more. Once the scan is complete you will see a full list of problems it has found.
The scan will look for changes in file sizes in the official WordPress core and plugin files.
It will also look inside the files to check for suspicious code, backdoors, malicious URLs, and known patterns of infections.
Typically these scans need a lot of server resources to run. Wordfence does an excellent job of running the scans as efficiently as possible. The time it takes to complete a scan will depend on how much data you have, and the server resources available.
You will be able to see the progress of the scan in the yellow boxes on the scan page. Most of this information will be technical. However, you don’t need to worry about the technical stuff.
Once the scan is finished, Wordfence will show you the results.
It will notify you if it found any suspicious code, infections, malware, or corrupted files on your website. It will also recommend actions you can take to fix those issues.
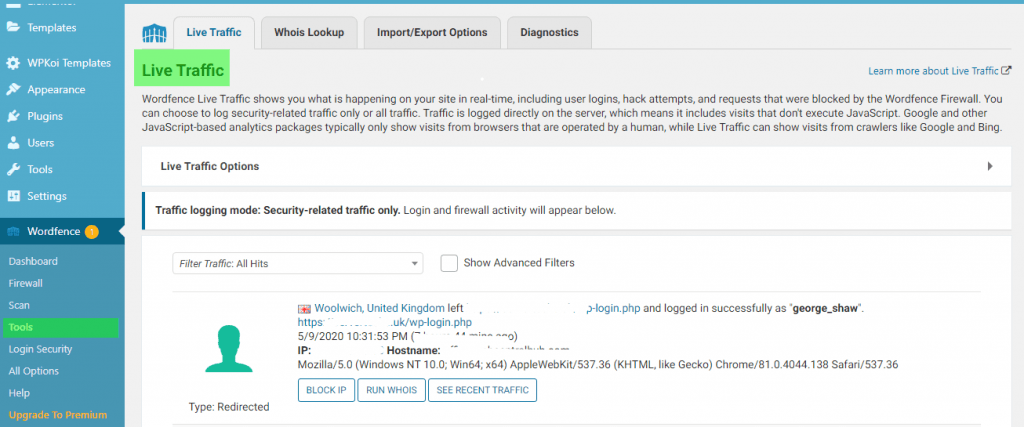
There are many other sections to be aware of. You can view the live traffic feed by clicking on the Live Traffic option. Wordfence Live Traffic shows you what is happening on your site in real-time, including user logins, hack attempts, and requests that were blocked by the Wordfence Firewall. You can choose to log security-related traffic only or all traffic.
Traffic is logged directly on the server, which means it includes visits that don’t execute JavaScript. Google and other JavaScript-based analytics packages typically only show visits from browsers that are operated by a human, while Live Traffic can show visits from crawlers like Google and Bing.
Here you can see the list of IPs requesting different pages on your website.
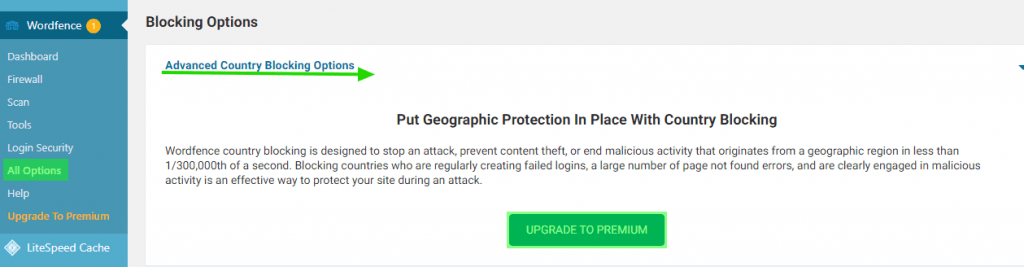
This will show you how well Wordfence is defending your website. The Blocking option will allow you to see who is being blocked and allow you to manually enter an IP address to be blocked.
If you have the premium version you can also block entire countries from accessing your website. Explore these sections to see everything they offer.
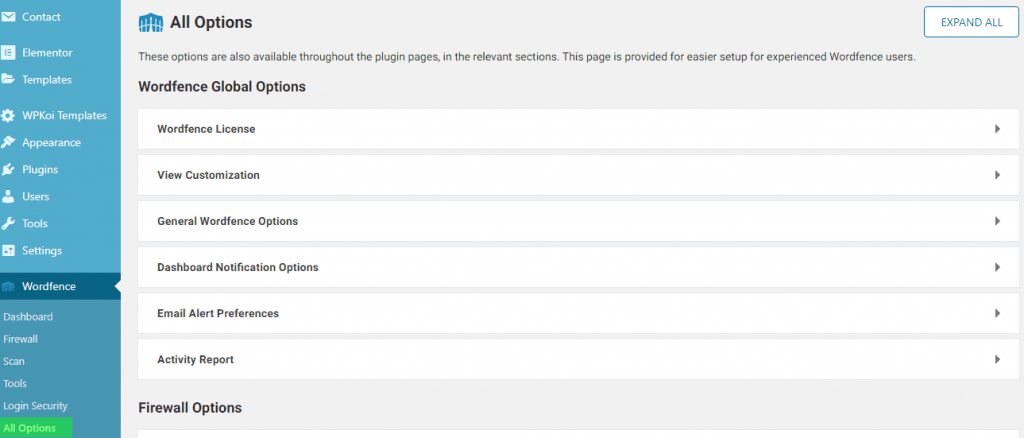
Click on the Options option. This will allow you to tweak the Advanced settings that can be found by scrolling down the page.
These settings are all up to you, but should all be considered when setting this plugin up.
Congratulations, you have successfully installed and set up the Wordfence Security plugin. You can change your settings and scan your website at any time. Remember there are many features that are exclusive to the premium version of Wordfence and you can upgrade at any time, but the free version will be able to guard your website without any issues.