Minor changes to your hosts file allows us to override the DNS for a domain, on that your local machine and is useful while you want to test your site without the temporary / test link, prior to going live site with SSL; verify that an alias site works, prior to DNS changes; and for other DNS-related reasons.
Changed to hosts file causes your local machine only to look directly at the IP address specified. You will have to add two entries to hosts file that contain the IP address that you want the site to resolve to and the address.
The hosts file is a plain text file, and is usually named hosts. A hosts file will have one or more lines referencing your local computer (localhost) and will resemble this:-
127.0.0.1 localhost
Adding the following two lines, for example, point www.testhosts.com and testhosts.com (change the IP )
- 192.168.124.125 www.testhosts.com
- 192.168.124.125 testhosts.com
The article provide instructions for locating and editing the hosts file on the operating systems listed below:-
- Windows 10, Windows 8.1, Windows 7, and Windows Vista
- Windows NT, Windows 2000, and Windows XP
- Linux
After you enter information and save the file, your system begins resolving to the specified IP address. After testing is finished, remove these entries.
Windows 10 and 8.1
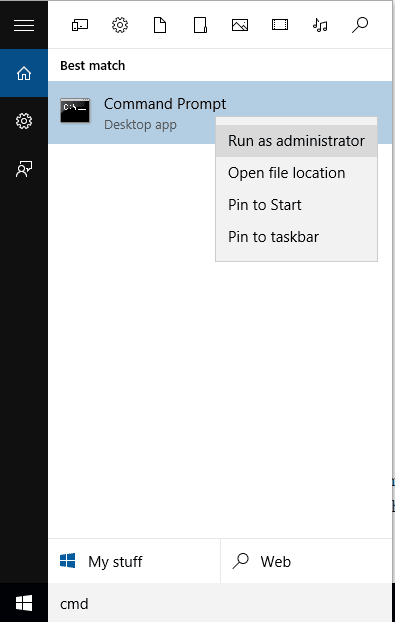
Open the command prompt as administrator.
Search ‘cmd’ on Windows 10 or 8.1 and right click on the Command Prompt and select ‘Run as administrator’.
On the opened command prompt, type ‘cd drivers‘ ENTER then ‘cd etc‘ ENTER as shown below. This is to go to the location where the host file is located.
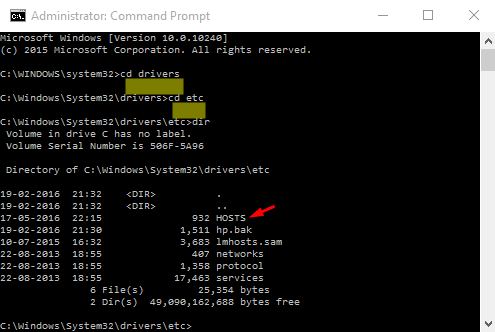
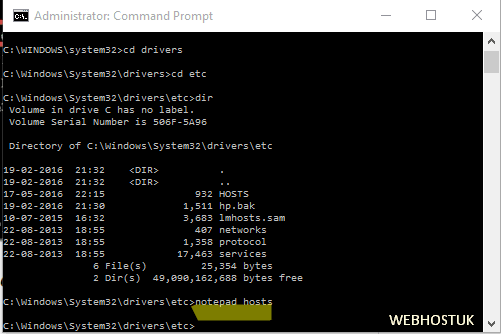
Make sure you are in the correct folder path, it should be C:\Windows\System32\Drivers\etc. Type ‘notepad hosts’ to open the hosts file in notepad.
We assume that you know the content of the file. Type the IP address of the domain/host name you want to give, then name. You can see the examples in same file.
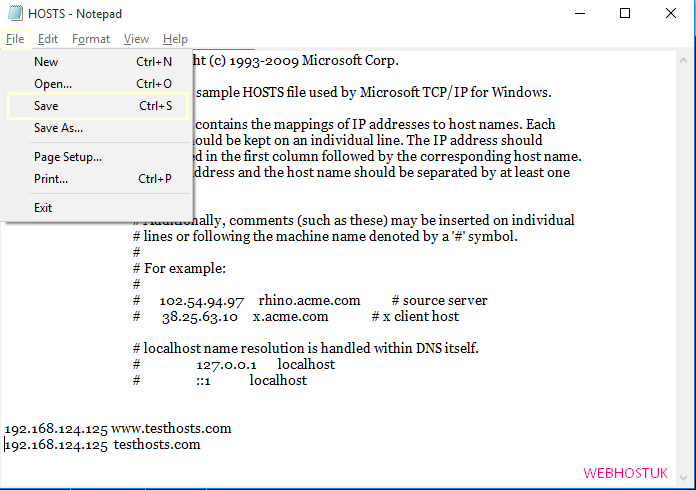
Once you have modified the file with appropriate settings, click Save from File menu. That’s it, we have successfully modified the hosts file in Windows 10/8.1 now.
Method II
If you are not good in using command prompt, then this method will be handy in editing the hosts file in GU interface.
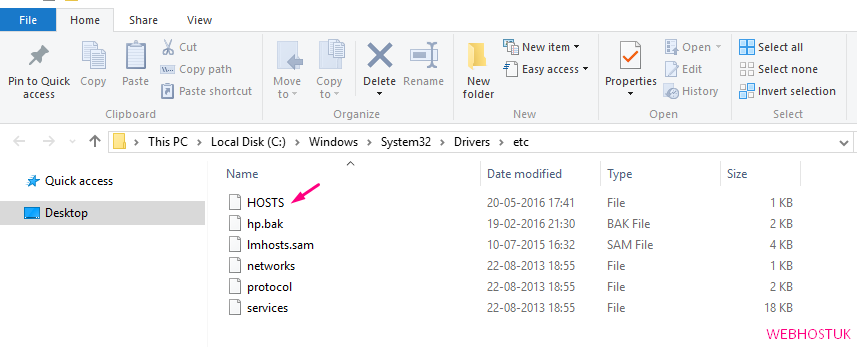
Open the location of hosts file, it’s under C:\Windows\System32\Drivers\etc. Once you have located the file right click on it and open with notepad.
Make the necessary changes to the file.
And click Save on the File menu.
Windows 7 and Windows Vista
Click Start  , click All Programs, click Accessories, right-click Notepad, and then click Run as administrator.
 If you are prompted for an administrator password or for a confirmation, type the password, or click Allow or Yes.
Open the Hosts file, make the necessary changes, and then click Save on the Edit menu. If using Windows 7, you will need to click Save on the File menu.
Windows NT, Windows 2000, and Windows XP
Open the file located at C:\Windows\System32\Drivers\etc\hosts
Click Start, click All Programs, click Accessories, right-click Notepad,
Make the necessary changes to the file.
And click Save on the File menu.
Linux
Open the Terminal Window.
Open the hosts file in a text editor (you can use any text editor)
vi /etc/hosts
Enter domain user password.
Make the necessary changes to the file.
Save the file.